
Chess Rules for Kids: How to Explain Them Simply
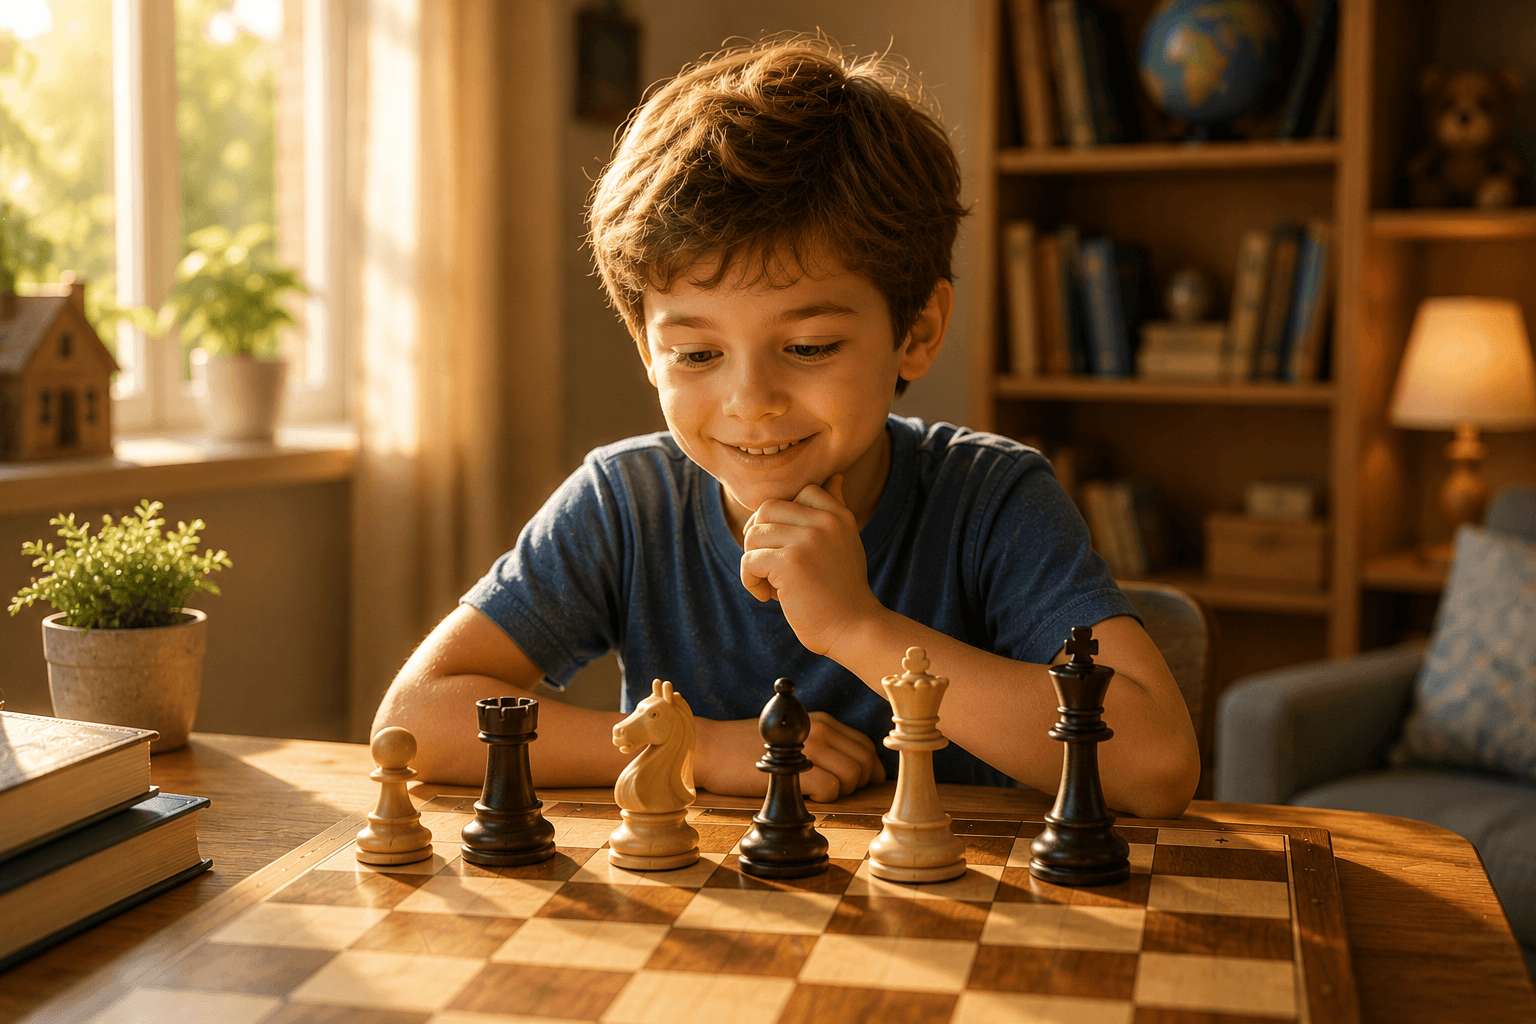
If you’re looking for chess rules for beginner kids and don’t know where to start, what matters isn’t how much information you give but the order you give it in. Explaining the rules of chess to a child is harder than it seems. Not because the rules are hard, but because they’re usually explained in the wrong order. People start with the history of the game, then list all the pieces at once, then try to play, and the child is lost by the second move.
A different approach works: one topic at a time, with practice right away. First the board, and until it’s mastered, you don’t move on to the pieces. Then the pieces, one at a time. Then check. Then checkmate. Each step is reinforced with exercises, not just an explanation.
12 stages in sequence. From getting to know the board to the first games. The first 2 stages are free. Go to the Chess from Scratch course.
That’s exactly how the Chess from Scratch course is built: each topic is learned separately and reinforced with exercises on a live board. This article follows the same order, from the board to check, checkmate and the special rules.
In the Chess from Scratch course, each stage is tied to a character from legends around the world. As your child progresses, achievements, hints and pieces of the character’s picture are unlocked. The character is fully revealed when the stage is complete.
The chessboard
The board has 64 squares: 32 light and 32 dark. Before a game, the board is placed so that each player has a light square in the bottom right-hand corner. An easy way to remember it: “light on the right.”
Every square has an address. Along the bottom edge are the letters a to h; up the side are the numbers 1 to 8. The bottom left corner is a1, the top right is h8. This matters: chess moves are written down using exactly these coordinates.
The rows across the board are called ranks, the columns are called files, and the slanting lines are diagonals. These words come up all the time when explaining how the pieces move, so it’s best to learn them right away.
Kids usually understand the board more easily through exercises than through explanations: find square b4, show the e-file, name a diagonal. After 10–15 such exercises, they read coordinates automatically.
→ Stage 1 of the course: the chessboard, 60 exercises on coordinates and orientation. Open without sign-up. Go to Stage 1.
The pieces and how to set them up
Each player has 16 pieces: a king, a queen, two bishops, two knights, two rooks and eight pawns. White takes the first two rows, Black the last two.
The first row is always set up the same way. From left to right for White: rook, knight, bishop, queen, king, bishop, knight, rook. The second row holds eight pawns. One important detail: the white queen goes on a light square, the black queen on a dark one. This helps avoid mixing them up during setup.
The value of the pieces is also explained at the start: a pawn is worth 1 point, a knight and a bishop 3 each, a rook 5, a queen 9. A child who knows the values immediately starts thinking about trades: is it worth giving up a bishop for a rook?
→ Stage 2: the pieces and how to set them up, 75 exercises in 6 blocks. The second stage is free after sign-up. Go to Stage 2.
The explanations in the course are short, 15–30 seconds. Right after an explanation, your child does the exercises on a live board. See all 12 stages.
How the chess pieces move
This is the core of the chess rules for kids. Each piece moves in its own way, and you need to know this firmly before thinking about strategy.
The rook
The rook moves in straight lines: left, right, forward, backward, any number of squares. It doesn’t jump over other pieces. It captures by moving onto the square of an opponent’s piece.
A good exercise for a child: put the rook in a corner and ask how many squares it controls. Then move it to the center and ask again. The difference explains right away why rooks are better kept closer to the center.
The rook doesn’t capture its own pieces, only the opponent’s. And it doesn’t jump over pieces: if an opponent’s piece is in the way, the rook captures it and stops. If it’s one of its own, the rook simply stops in front of it. This rule works the same for every piece except the knight.
→ Stage 3: the rook, 85 exercises in 7 blocks. How the rook moves.
The bishop
The bishop moves diagonally, also any number of squares, without jumping over pieces. An important property: a bishop stays on squares of the same color forever. The one that started on light squares stays there for the whole game.
Kids remember the bishop more easily through an image: it sees only half the board. Two bishops together cover everything; one covers only half.
A bishop is stronger on open diagonals, when nothing gets in its way. If its own pawns stand on squares of the same color, they block it. Kids start to understand this on their own after a few games: the bishop is “stuck” behind its own pawns.
→ Stage 4: the bishop, 95 exercises in 8 blocks. How the bishop moves.
The queen
The queen is the strongest piece. It moves like a rook and a bishop combined: along ranks, files and diagonals, any number of squares. From the center of the board it controls up to 27 of the 64 squares.
Kids quickly understand why the queen is protected: losing the queen usually means losing the game. It isn’t a rule to memorize; it’s a conclusion the child reaches on their own after seeing how many squares the queen covers.
→ Stage 5: the queen, 100 exercises in 9 blocks. How the queen moves.
The knight
The knight moves in an L-shape: two squares in one direction and one square to the side. It’s the only piece that jumps over others. It always lands on a square of the other color.
The knight is usually the hardest piece to remember. Its move isn’t intuitive, unlike the rook’s or the bishop’s. One detail helps: a knight on a light square always lands on a dark one, and the other way around. That’s easy to check.
The knight is especially dangerous because its threats aren’t visible along a straight line: it “jumps out” from behind other pieces. That makes it unexpected even for experienced players. Kids sense this intuitively and soon start using the knight exactly that way: by surprise.
→ Stage 6: the knight, 90 exercises in 8 blocks. How the knight moves.
The pawn
The pawn moves forward one square. From its starting position it can move two squares at once. It captures diagonally, one square forward. That’s different from how it moves, and kids often mix them up.
The pawn has two special rules. Promotion: when it reaches the last rank, it becomes any piece except a king, usually a queen. En passant: if an opponent’s pawn moves two squares and lands right next to your pawn, you can capture it as if it had moved only one square, but only on the very next move. These rules are best explained one at a time, not all at once.
Even though the pawn is the weakest piece, kids usually love it for promotion. Walking a pawn across the whole board and getting a queen is one of the best moments in chess. It’s worth playing out separately, even before the first full game.
→ Stage 7: the pawn, 121 exercises in 13 blocks. The most detailed stage of the course. How the pawn moves.
The king
The king moves one square in any direction. The slowest piece, but the most important. The main restriction: the king can’t step onto a square attacked by the opponent.
The king stage introduces the idea of a defending piece, one that protects another. It’s the first step toward seeing not just individual pieces, but the connections between them.
→ Stage 8: the king, 85 exercises in 7 blocks. How the king moves.
Check
Check is a threat to the king. If your piece attacks the opponent’s king, that’s check. The opponent must deal with it immediately: no other moves are allowed.
There are three ways to get out of check: move the king to a safe square, block with another piece, or capture the attacking piece. Kids remember this most easily through exercises: here’s a check, how do you get out of it? Explain once, practice ten times on the board.
Kids especially enjoy giving check themselves. It’s the first moment a child feels they’re controlling something in the game.
→ Stage 9: check, 102 exercises in 12 blocks. Check and how to get out of it.
Checkmate
Checkmate is a check with no way out. The king has nowhere to go, nothing can block, and the attacking piece can’t be captured. The game is over: whoever delivered checkmate wins.
Checkmate brings together all the rules before it. A child who knows how the pieces move and understands check takes checkmate in naturally: it’s simply check with no escape. Mate-in-one puzzles are the best way to reinforce the idea.
Scholar’s Mate, a checkmate in four moves, is familiar to everyone who learned chess on their own. It’s useful to know both ways: how to deliver it and how to defend against it. It’s the first tactical idea kids remember and try to use.
It’s important to explain: the king itself is never actually captured. The game ends the moment checkmate is on the board.
→ Stage 10: checkmate, 40 exercises in 3 blocks. What checkmate is.
Castling
Castling is a special move: the king and a rook move at the same time. The king moves two squares toward the rook, and the rook jumps over it to the square next to it. The point of castling is to tuck the king away to safety and bring the rook into play.
You can’t castle if: the king has already moved; the rook you want to castle with has already moved; there are pieces between the king and the rook; the king is in check; the king would pass through an attacked square; or the king would end up in check.
Kids usually find it hard to remember all the conditions at once. It’s better to go through them one at a time: first “already moved”, then “pieces in between”, and so on.
It’s worth showing castling in practice before explaining the restrictions. The child sees the move itself, two steps of the king and the rook’s jump, and immediately understands why it’s needed. After that, the restrictions feel like the rules of a specific move, not an abstract list of bans.
→ Stage 11: castling, 30 exercises. Each restriction gets its own block. Castling in chess.
Stalemate and other ways a game ends
Stalemate is a draw. It happens when it’s a player’s turn, they have no legal moves, and their king isn’t in check. Stalemate often happens by mistake on the winning side: a player drives the opponent’s king into a corner and doesn’t notice there’s no check.
Another way to draw is perpetual check: one player keeps giving check, and the other can’t escape it. A game can also end in resignation: a player admits defeat themselves.
Stalemate is one of the first tricks kids start using on purpose when they’re behind. Understanding stalemate means understanding an important defensive technique.
Resigning is also a rule worth explaining right away. A child should know that you can lose with dignity: say “I resign” and shake hands. It’s part of chess culture, not a weakness.
→ Stage 12: stalemate, perpetual check and draws, 32 exercises. The final stage of the course. Stalemate, perpetual check and draws.
How to explain the rules to kids: tips for parents
Don’t explain everything at once. One topic per session. After an explanation, play or solve exercises on that topic right away, otherwise the rule won’t stick. Why this works is covered in the article Chess for Beginner Kids: Why Practice Beats Explanations.
Start with exercises, not a game. A full game right away means many variables at once. An exercise on one rule is one variable. That’s how kids learn.
Mistakes are part of the process. Go over them after the move, not during it. “You moved the rook through the knight, and a rook can’t do that” works better than stopping in the middle of a game.
Play yourself. Kids learn by watching. A game where the child watches an adult think out loud is often more useful than an explanation of the rules.
If you’d like your child to practice independently, the Chess from Scratch course explains the rules out loud and gives exercises on the board right away. The first two stages are free.
Frequently asked questions
At what age can you explain the rules of chess to a child?
From age 5 is ideal. At this age a child understands abstract rules and can stay focused long enough. From age 4 it’s possible, but it depends on the child.
In what order should the rules be explained?
Board → setup → how the pieces move (one at a time) → check → checkmate → special moves → draws. This order matters: each step builds on the one before. Skipping steps means explaining the next rule without a foundation.
Do you need to learn all the rules before the first game?
Not necessarily. You can start playing once your child knows how the pieces move and understands check. The other rules (castling, en passant, stalemate) are added along the way. The main thing is not to start a game without knowing how the pieces move at all.
My child forgets the rules between sessions. What should I do?
That’s normal at the start. A short review at the beginning of each session helps: 5 exercises on what you covered last time. Regularity matters more than length: 15 minutes every day works better than two hours once a week.
How do I explain castling? It’s complicated.
Break it into parts. First explain that castling exists and why: to keep the king safe. Then add the restrictions one at a time: in the first session, “not if there are pieces in between”, in the second, “not if they’ve already moved”, and so on.
Can I start teaching chess if I can’t play myself?
Yes. The rules of chess are the same for everyone, and an adult learns them alongside the child. There’s even a plus: the parent learns together with the child instead of explaining from above. “Let’s figure it out together” works better than “I know, listen to me”.
How do I know my child is ready for a first game?
When they know how every piece moves and understand check. They don’t need to know castling, en passant or stalemate: those come along the way. The main sign: your child makes moves without asking “Is this allowed?” about every piece. The rest is learned through play.
Summary
Chess rules for kids aren’t one big block of information but a sequence of small topics: the board, the pieces, the moves, check, checkmate, special moves, draws. Each one can be explained in 10–15 minutes and reinforced with exercises right away.
Somewhere around the third or fourth topic, a child stops asking “Is this right?” and simply starts moving. After a few sessions there’s usually a moment when your child makes moves without constant questions and hints. That’s a good sign: the rules stop being a set of words and become a habit.
For the complete rules, also for adult beginners, see How to Play Chess: Rules for Beginners.
The first two stages of the Chess from Scratch course are free: see how the explanations work before you decide.